

50 AI Photo Editing Prompts for Everyday Edits and Ads (Copy-Paste, 2026)
50 copy-paste AI photo editing prompts for Gemini Nano Banana, ChatGPT, Canva & Firefly: backgrounds, portraits, headshots, old photo restore, product shots and ads — plus the CLEAR formula so the AI never changes your face.
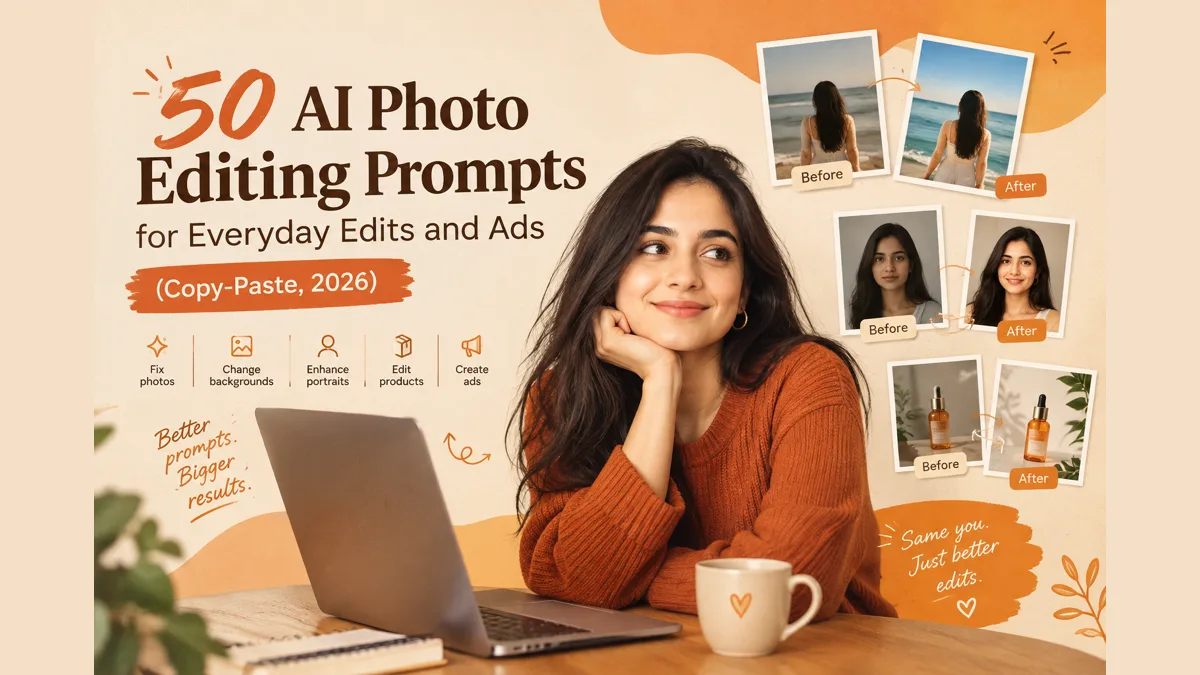
Quick answer: The best AI photo editing prompts follow one rule: tell the AI what to change, then tell it what to keep exactly the same. A good prompt names one edit, protects the face and background, and states the output size. Below are 50 copy-paste AI photo editing prompts for Gemini (Nano Banana), ChatGPT, Canva and Adobe Firefly, the best apps to use them in, and a simple formula for writing your own.
By Likita, performance marketing specialist with 10+ years in ads. I use these prompts for ad creatives, product shots and everyday photos. Looking for festive edits? Try my Navratri AI photo editing prompts and AI Ganpati photo prompts.
Why most AI photo edits look "off"
Most people write prompts like "make it better" or "make it professional." The AI then guesses, and it often changes your face, colours or background too.
The fix is to edit like a director, not like a wisher. Give one clear instruction, lock everything else, and refine in small follow-ups.
The CLEAR formula (use it for any edit)
| Letter | What to write | Example |
|---|---|---|
| Command | One edit only | "Replace the background with a clean white studio" |
| Lock | What must not change | "Keep face, skin tone, clothes and pose exactly the same" |
| Environment | Light, mood, setting | "Soft daylight from the left, natural shadows" |
| Aspect | Size or format | "4:5 for Instagram feed" |
| Refine | Follow up in small steps | "Now make the shadow slightly softer" |
Template: [Command]. Keep [Lock] exactly the same. [Environment]. Output in [Aspect].
Replace the [brackets] in any prompt below with your own details.
Fix everyday photos (prompts 1 to 8)
1. Brighten a dull photo
Brighten this photo and fix the white balance so it looks natural. Keep faces, skin tone and colours realistic. Do not change the composition.
2. Remove an object
Remove [the bin on the right] and fill the space naturally to match the surroundings. Keep everything else unchanged.
3. Remove people from the background
Remove all the people in the background and fill in the space realistically. Keep the main subject exactly as is.
4. Fix harsh shadows
Soften the harsh shadows on the face and lighten them gently. Keep skin texture natural and don't change features.
5. Fix yellow indoor lighting
Correct the yellow indoor colour cast so whites look white and skin looks natural. Do not change anything else.
6. Reduce noise in a low-light photo
Reduce the grain and noise in this low-light photo and recover detail. Don't smooth faces or invent new details.
7. Straighten a tilted photo
Straighten this photo so horizons and vertical lines are level. Keep the subject and framing as close to the original as possible.
8. Fix a washed-out sky
Restore the sky with natural blue and soft clouds. Keep the foreground and subject exactly the same.
Backgrounds and lighting (prompts 9 to 16)
9. Replace the background
Replace the background with [a clean beach / a modern office / a plain light grey wall]. Match the lighting on the subject to the new background. Keep face, clothes and pose exactly the same.
10. Plain white background
Put the subject on a pure white background with soft natural edges. Keep the subject unchanged.
11. Blur the background (portrait look)
Blur the background softly to create a shallow depth-of-field portrait look. Keep the subject sharp and unchanged.
12. Golden hour light
Change this scene to warm golden hour sunset light. Keep all objects, people and layout exactly the same.
13. Night to day
Turn this night scene into daytime with natural sunlight. Keep all objects and composition the same.
14. Cloudy to sunny
Change the overcast sky to a bright sunny day with natural shadows. Keep everything else unchanged.
15. Studio lighting
Relight this photo with soft studio lighting from the left. Keep face, colours and pose the same.
16. Remove glare and reflections
Remove the glare and reflections from [the glasses / the window / the product surface] without changing anything else.
Portraits and headshots (prompts 17 to 24)
17. Natural skin retouch
Lightly remove temporary blemishes only. Keep natural skin texture and pores. Do not smooth, slim or reshape the face.
18. Professional LinkedIn headshot
Turn this into a professional headshot with a plain neutral background and soft studio lighting. Keep my face, hairstyle and expression exactly the same.
19. Outfit change
Change the outfit to [a navy blazer with a white shirt]. Keep my face, hair, pose and background exactly the same.
20. Try a new hairstyle
Change the hairstyle to [shoulder-length layers]. Keep face, skin tone and expression exactly the same.
21. Remove glasses glare
Remove the reflection on the glasses so the eyes are clearly visible. Keep the frames and everything else unchanged.
22. Natural teeth brightening
Slightly brighten the teeth to a natural shade. Do not change the smile or face shape.
23. Social media profile picture
Crop this into a centred square profile picture with soft even lighting and a simple background. Keep my face unchanged.
24. Passport-style photo
Create a front-facing photo with a plain white background and even lighting. Keep my face unchanged.
Note: Check your country's official passport photo rules first, because AI-edited photos may not be accepted.
Restore and upscale old photos (prompts 25 to 29)
25. Restore an old photo
Restore this old photo: remove scratches, folds and fading, and sharpen details. Keep faces exactly as they are and don't add anyone new.
26. Colourise a black-and-white photo
Add natural, realistic colour to this black-and-white photo. Keep faces, clothing details and composition the same.
27. Sharpen a blurry photo
Sharpen this slightly blurry photo and improve clarity. Do not invent new details or change faces.
28. Upscale for print
Increase the resolution and clarity of this image for printing. Keep all content, faces and colours identical.
29. Repair a torn photo
Repair the tear and missing corners of this photo and match the surrounding texture. Don't change the people.
Product and e-commerce photos (prompts 30 to 37)
30. White background for catalog listings
Remove the background and place the product on pure white with a soft natural shadow underneath. Keep the product's shape, colour, logo and text exactly the same. Square 1:1.
31. Lifestyle scene
Place this product on [a wooden kitchen counter in a bright home] with soft morning light. Keep the product's colour, label and shape exactly the same. 4:5 vertical.
32. Marble or wood surface
Place the product on a [white marble / warm wood] surface with soft side lighting. Keep the product unchanged.
33. Remove stickers or price tags
Remove the price sticker and tag from the product and restore the surface cleanly. Keep the logo and everything else unchanged.
34. Add a soft shadow
Add a realistic soft shadow under the product so it doesn't look floating. Keep the product unchanged.
35. Flat-lay arrangement
Show this product in a top-down flat-lay with [two small props] on a clean [beige] background. Keep the product exactly the same.
36. Jewellery shine
Enhance the sparkle and clarity of this jewellery on a dark neutral background. Keep the design, stones and colours exactly the same.
37. Make food look fresh
Improve the colour and freshness of this food photo with warm natural light. Keep the dish, portion and plating exactly the same. Don't add ingredients.
Ads and social media creatives (prompts 38 to 45)
38. Festive mood
Add a subtle Diwali mood: warm diya lights in the background and a soft golden glow. Keep the product and subject unchanged and leave empty space at the top for text.
39. Resize for Reels and Stories
Extend this image to 9:16 by naturally continuing the background above and below. Keep the main subject centred and unchanged.
40. Resize for Instagram feed
Extend this image to 4:5 by naturally continuing the background. Keep the subject unchanged.
41. Leave copy space for text
Rearrange the empty space so there's a clean area at the [top / left] for a headline. Keep the subject unchanged.
42. A/B test variations
Create 3 versions of this ad image: a white background, a warm lifestyle setting, and a bold solid colour background. Keep the product identical in all three.
43. YouTube thumbnail
Make the subject stand out with a bright contrasting background and a subtle glow around the edges. Leave space on the right for text. Keep the face unchanged.
44. Real estate virtual staging
Add simple modern furniture to this empty room: a sofa, a rug and a side table. Keep the walls, floor, windows and room size exactly the same.
Note: Label virtually staged images clearly in listings — more on this in my RERA-safe real estate marketing guide.
45. Real estate twilight exterior
Change this exterior to a twilight scene with soft warm lights in the windows. Keep the building exactly the same.
Pro tip for ads: Leave blank space for your headline and CTA button in the prompt. Test the three variations from prompt 42 against each other. A cleaner creative often lifts click-through rate (see my AI tools for digital marketing for the full creative workflow) more than a fancier one.
Creative and fun edits (prompts 46 to 50)
46. Cartoon-style portrait
Turn this photo into a clean illustrated cartoon-style portrait. Keep my face recognisable, with the same hairstyle and expression.
47. Vintage film look
Give this photo a warm vintage film look with soft grain and slightly faded colours. Keep the composition and faces the same.
48. Change the season
Change this scene to autumn with orange leaves and soft light. Keep all buildings, objects and people the same.
49. Combine two photos
Combine these two photos into one natural group photo. Match the lighting and scale, and keep both faces unchanged.
50. Pet portrait backdrop
Place my pet on a soft, plain [cream] studio backdrop with gentle lighting. Keep the fur colour, markings and expression exactly the same.
6 mistakes that ruin AI photo edits (and quick fixes)
- Asking for 5 edits at once. Do one edit per prompt, then refine.
- Not saying what to keep. Always add "keep face, clothes and pose exactly the same."
- Vague words like "better" or "professional." Describe the light, background and mood instead.
- Face changed or skin over-smoothed. Add "keep natural skin texture, don't reshape features."
- Wrong text in the image. Put the exact words in quotes, or add text later in Canva.
- Starting over after one bad result. Stay in the same chat and say "undo the last change only."
Where to use these prompts: best apps and software
All of these let you upload a photo, paste a prompt and get the edit back.
| App | Best for | Link | Free? |
|---|---|---|---|
| Google Gemini | Everyday edits: backgrounds, object removal, lighting, portraits | gemini.google.com | Free tier with limits |
| ChatGPT | Creative and stylised edits, text inside images | chatgpt.com | Free and paid plans, limits vary |
| Canva | Quick edits plus finished social posts and ads | canva.com | Free plan with AI credits |
| Adobe Firefly | Clean generative fill and expand for detailed edits | firefly.adobe.com | Monthly free credits |
| Adobe Photoshop | Pixel-precise, professional work | adobe.com/products/photoshop | Paid |
| Photoroom | Product photos and background removal for sellers | photoroom.com | Free plan, paid upgrades |
| Pixlr | Browser-based editing with AI tools | pixlr.com | Free tier |
Google Gemini (best starting point for beginners). To access Nano Banana, select "Create images" from the tools menu in the Gemini app or on the website, then upload your photo and paste a prompt. You can keep editing in the same chat, which works well with the CLEAR formula.
Canva. Magic Edit replaces a selected area of a photo with what you describe, Magic Eraser removes unwanted objects, and Magic Expand extends an image beyond its borders. It is best when you want to edit a photo and design the finished post in one place.
Adobe Firefly and Photoshop. One comparison found that Firefly's generative fill produces cleaner results for complex edits, with better edge detection and texture matching. Use it when you need more detail than Canva gives.
How to use any prompt in any app (3 steps)
- Upload your photo.
- Paste the prompt and replace the [brackets] with your details.
- Check the result and refine with one small follow-up, such as "make the shadow softer."
Free limits and menu names change often, so check each app's current plan before you rely on it. The prompt formula stays useful even when the tools change.
Use AI edits responsibly
- Edit only photos you own or have permission to use.
- Don't use AI to exaggerate results in ads. Misleading before/after creatives can get rejected, and Meta now labels AI-edited ads — see the Meta Oct 30, 2026 terms update.
- For real estate, label virtually staged or AI-altered images so buyers aren't misled.
- Disclose significant AI edits where it matters, such as in news, legal or advertising contexts.
Final thoughts
You don't need to memorise 50 prompts. You need one formula, CLEAR, and the habit of locking what shouldn't change. Save this page, swap the brackets for your own photo, and start with prompts 1, 9 and 30.
Want help turning your photos into ads that actually convert? Let's make your brand more interesting.
FAQs
What is the best prompt for AI photo editing?+
The best prompt names one edit and locks everything else, for example: "Replace the background with a white studio. Keep the face, clothes and pose exactly the same."
Which app is best for AI photo editing prompts?+
For beginners, Gemini or ChatGPT is easiest because you just type the edit. Canva suits social posts, and Adobe Firefly or Photoshop suit detailed professional work.
Can I use these prompts in any AI photo editor?+
Yes. Paste them into any tool that accepts a photo plus a text instruction, and swap the [brackets] for your own details.
Can I edit photos with AI for free?+
Yes. Gemini, Canva, Adobe Firefly and Pixlr all offer free options, usually with daily or monthly limits.
Why does AI change my face when I edit?+
The prompt didn't say to protect it. Add "keep face, features and skin tone exactly the same" and edit one thing at a time.
Can AI replace Photoshop?+
For quick edits like backgrounds, colour and cleanup, AI is often faster. For pixel-precise or brand-critical work, Photoshop is still useful.
Which AI prompts work for product photos?+
Prompts that remove the background, add a soft shadow, and lock the product's shape, colour and logo. See prompts 30 to 37.
Keep reading
Written by Likita
Digital marketing, creative strategy, content & AI — Asia, UAE & Europe.